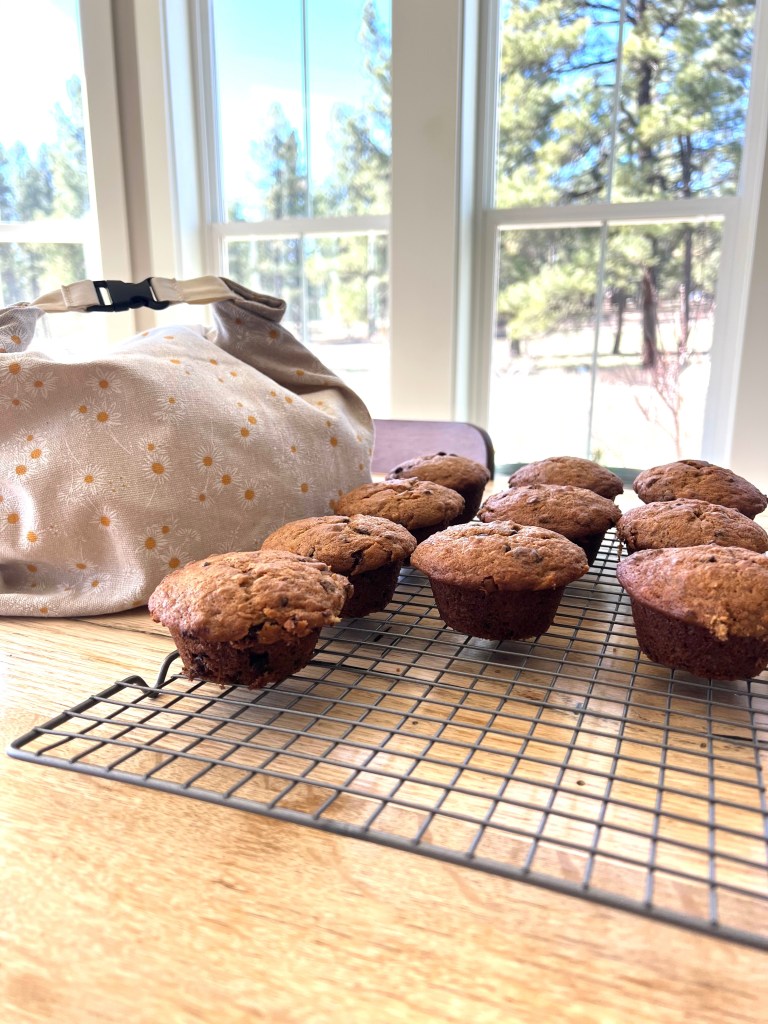
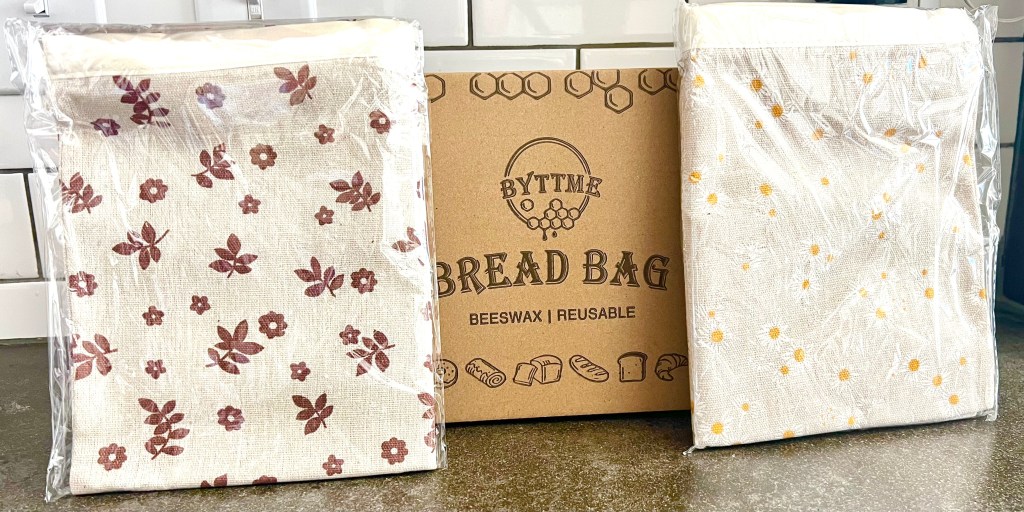
One thing I have been doing for awhile now is making sure to have healthy delicious homemade baked items on hand during the week for a quick breakfast or a snack. In the past I would use a gallon sized ziplock bag to store my muffins in. I wanted to find a replacement and came across these wax lined, zippered bags and I decided to give them a try. I do like them with the caveat that I cannot keep them quite as long in these bags as I could in the ziplocks, they do dry out faster but until I find something else I am happy with them.
If you are interested in trying them as well you can purchase them here.
In the future I hope to make my own food storage bags and will post about it here on thevigilanthomemaker.com when I do! Happy baking friends!
**Please note linked products are affiliate links.**
Delicious, fresh, nutritious sprouts are the best addition to almost any meal. The uses are endless, but they are often expensive in the stores and can be an E. Coli risk if they are not handled properly. The best way to enjoy sprouts is to grow them at home. They are so easy and once you have the tools to grow them they become a very inexpensive source of jam packed nutrition. So lets get into what you need to buy to get started and how to grow them.
Items Needed (these are the products I use to grow my own sprouts)
First sanitize your equipment, making sure it is clean and ready to go
Next Sanitize your sprout seeds (to prevent E. Coli). To do so follow these easy steps:
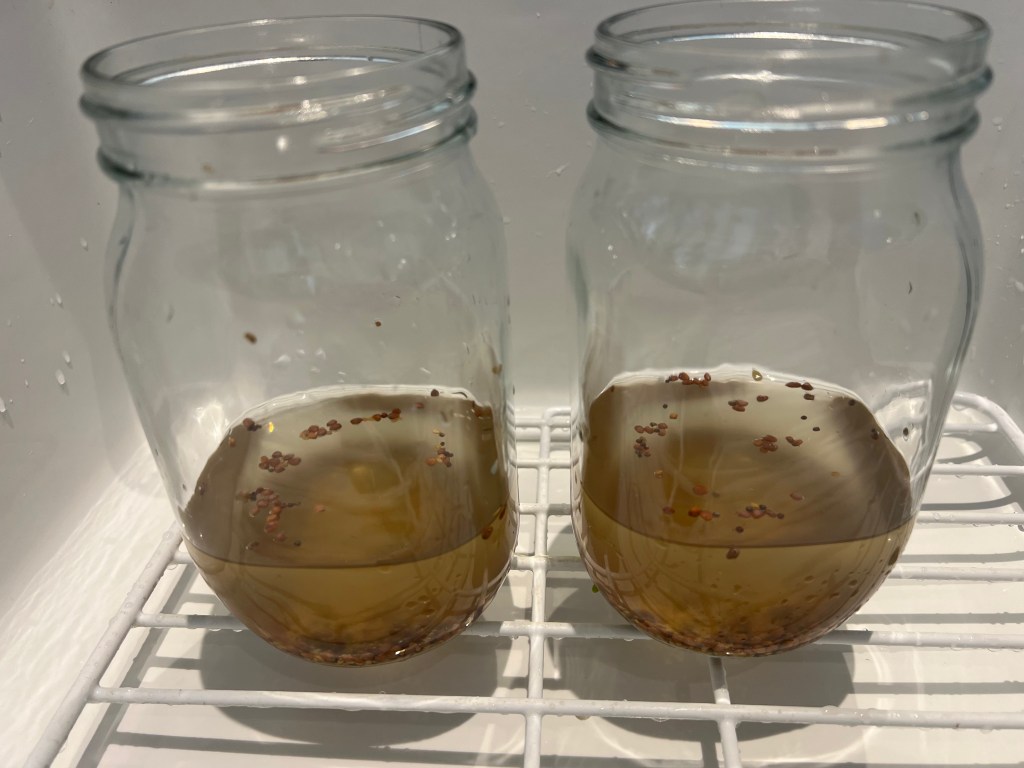
In a clean jar put one tablespoon of seeds
Fill the jar with one cup of water
Add 2 Tbsp of Apple Cider Vinegar
Leave to soak for 10-15 mins
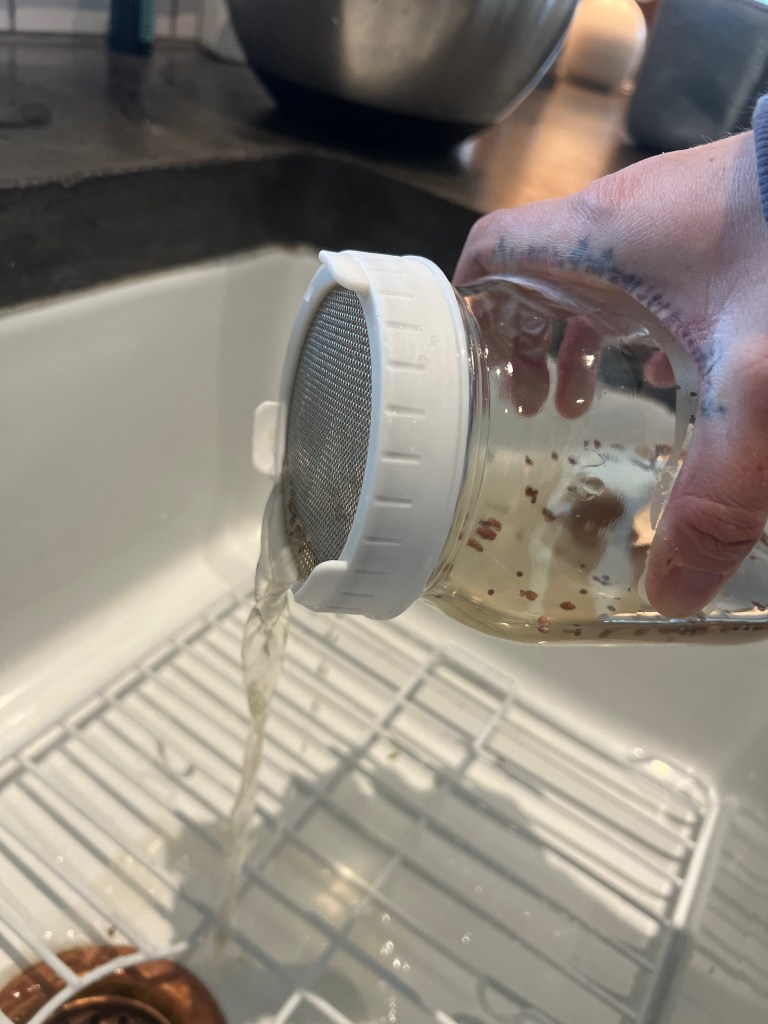
Put Strainer cap on the jar and strain out the liquid
Thoroughly rinse the seeds with clean water and strain remaining liquid off the seeds
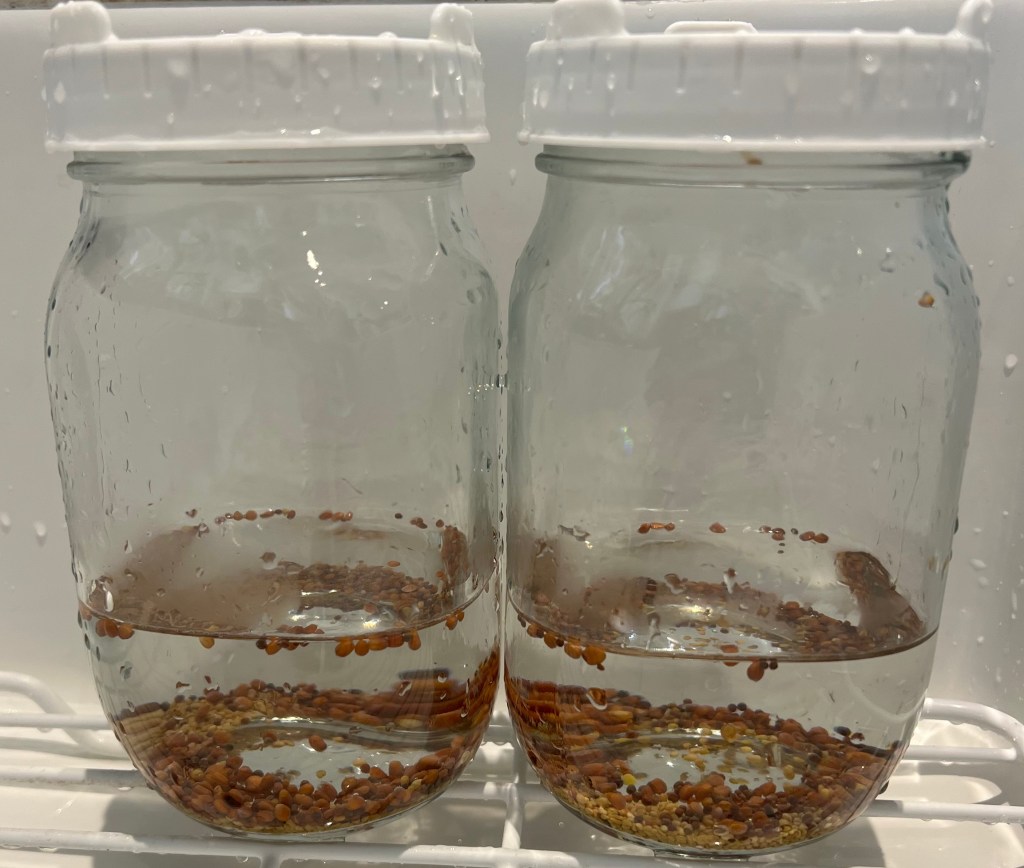
Apple Cider Vinegar and Water Soak
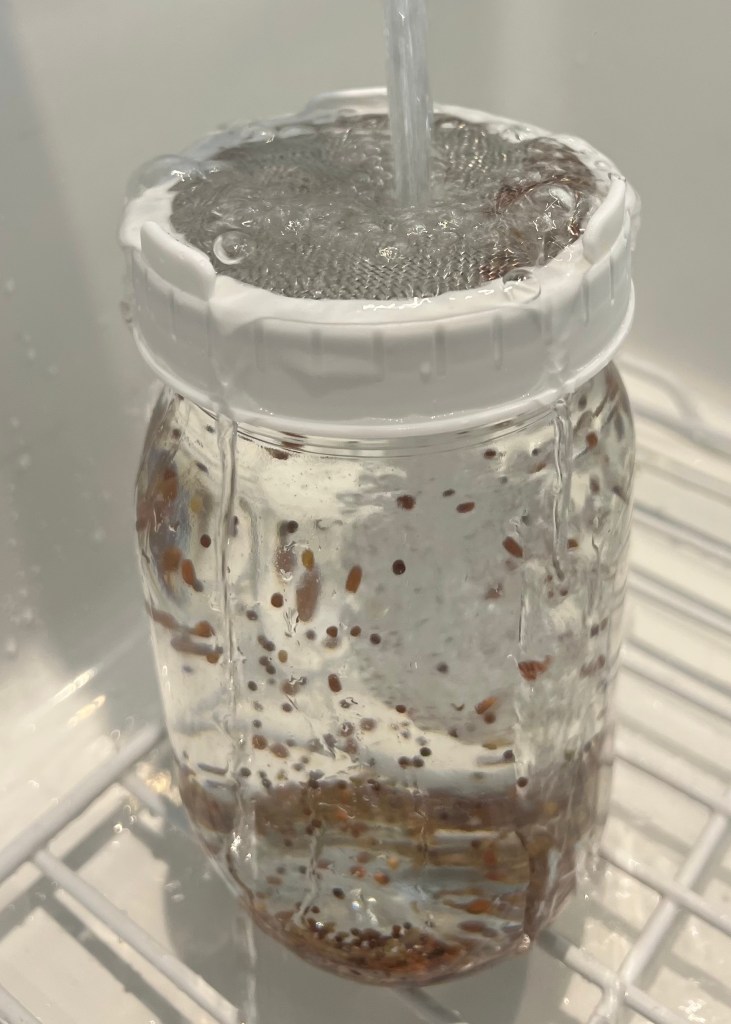
Draining Apple Cider Vinegar/Water soak and rinsing seeds with clean water and draining.
To Sprout:
Fill jars with Warm Water Covering the seeds with 2″ of water
Put blackout covers on jars and let them sit on the counter and soak for 6-8 hours
After soaking 6-8 hours take off the blackout cover and drain the liquid.
Next rinse the seeds with cool water and swish around water drain completely once again
Put jars upside down on the draining rack. Put jars and draining rack in a place out of direct sunlight.
Repeat the rinse with cold water, drain, place upside down in draining rack process twice a day. Once in the morning and once in the evening in order to ensure the seed are moist at all times.
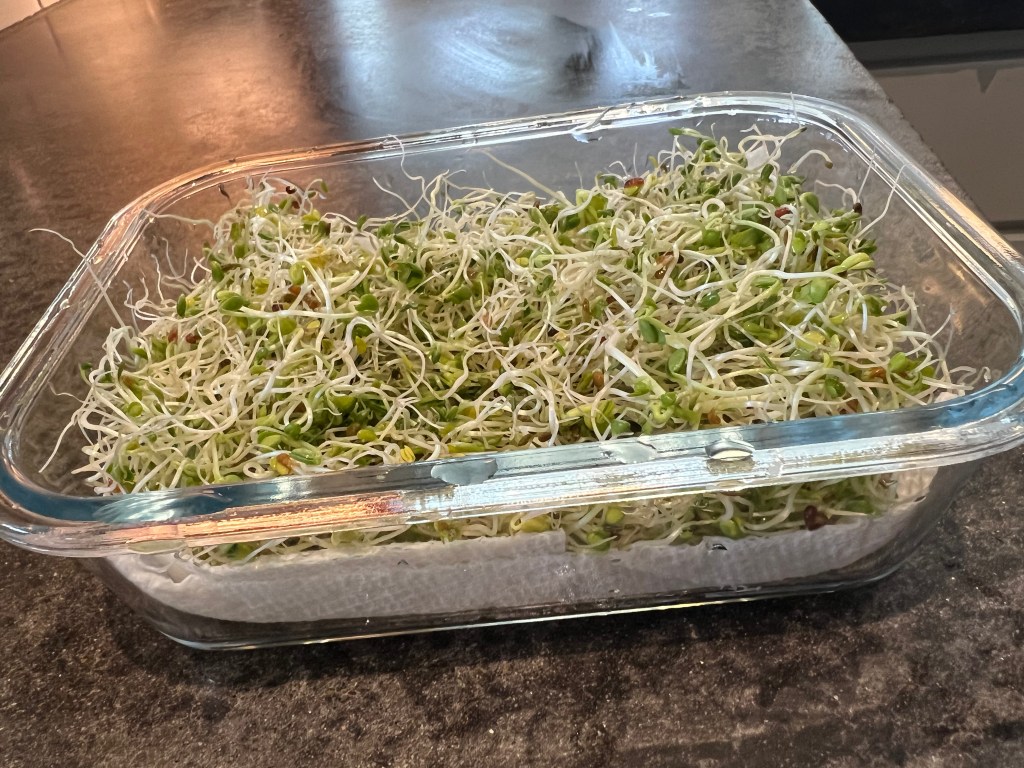
I find that this repeated rinse process takes around 5-7 days before the sprouts are ready to be harvested. You want to harvest when they are fairly small and just starting to get green.
Harvesting the Sprouts:
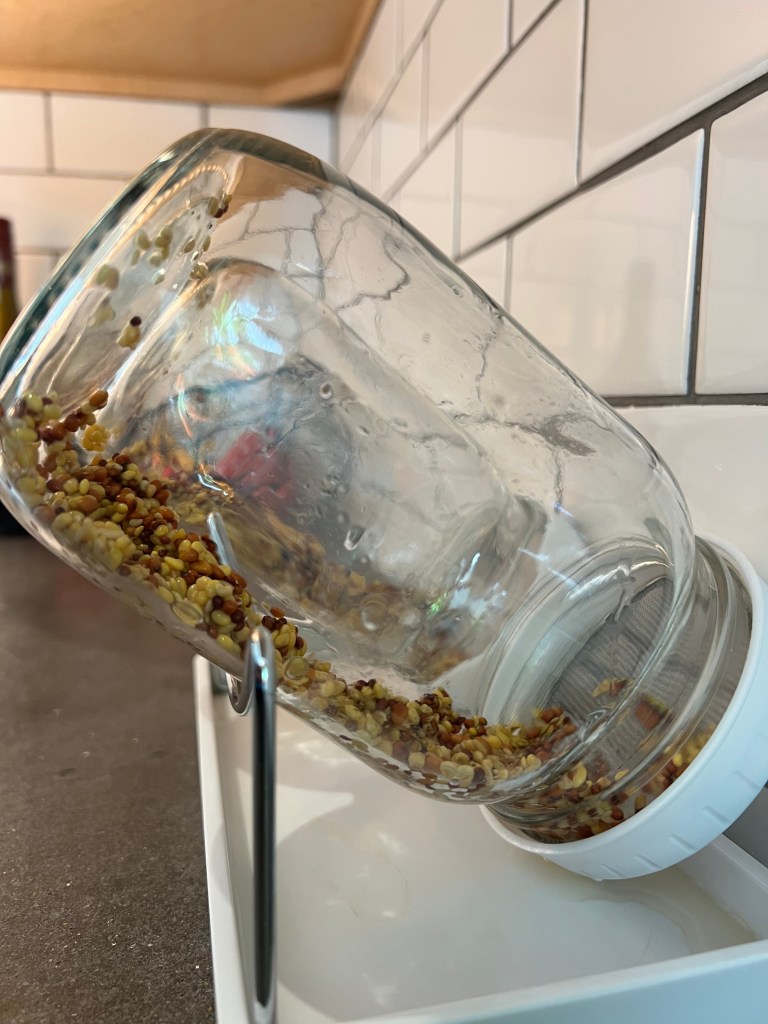
First take off the strainer caps and fill the jars up with water and try to drain off most of the seed hauls (the brown pieces floating around) by using your hands to push down the sprouts as the hauls get washed away.
Then dump out the sprouts into a bowl and fill with water, as you push down the sprouts with your hands drain off as many seed hauls as you can.
When you are satisfied that you have gotten most of the hauls, then line a glass food container with a paper towel to absorb any extra moisture. Place your drained sprouts inside and place in the fridge. They should be good for a week in the fridge.
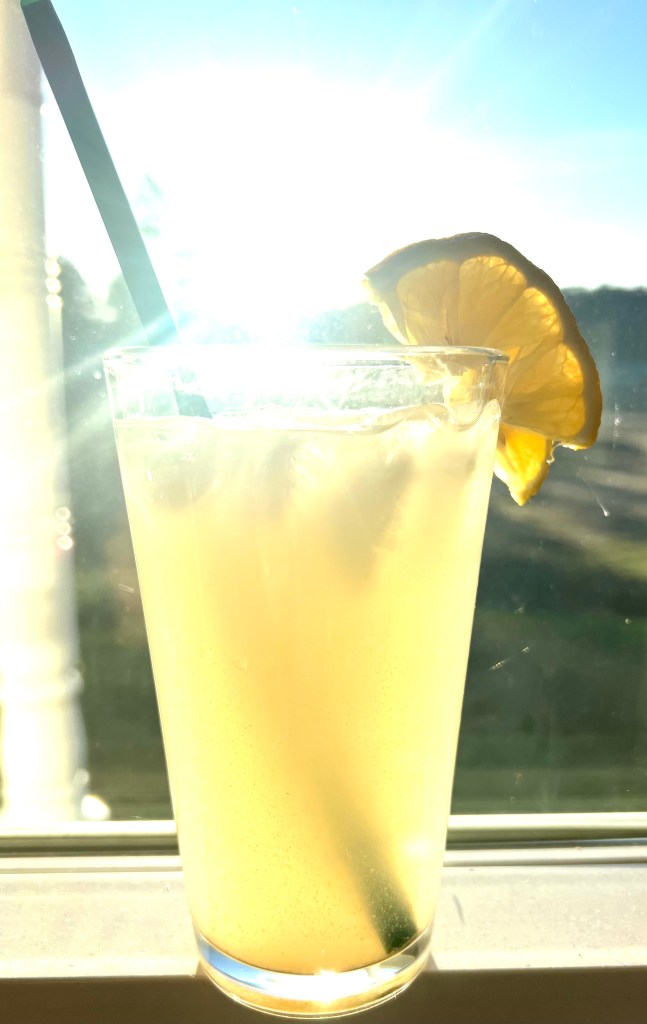
Yesterday I tried something new. I made our own electrolyte powder drink mix to replace the expensive LMNT packets we were buying every month. My husband and I drink a serving of electrolytes on a fairly regular basis because we find it really does help with brain fog and helps replenish after a sauna. I had stopped my regular Subscribe and Save on Amazon because I was paying about $40 for 30 servings of LMNT. However, I didn’t have a plan to replace them and my husband was the first to feel the consequences. One day he said to me “I’m feeling sluggish and miss the benefits of regular electrolytes do you think you could make us some?”. And honestly I stared at him blankly because the thought to make my own electrolyte drink mix had never even crossed my mind. I thought, “is that really something I could do?”. So began the search and research and guess what? Our favorite brand (LMNT) has a recipe for their mix on their very website! How generous! So here is where you can find that recipe. Here is the recipe with links to the products I personally used and the flavor amounts I found to be the best for me:
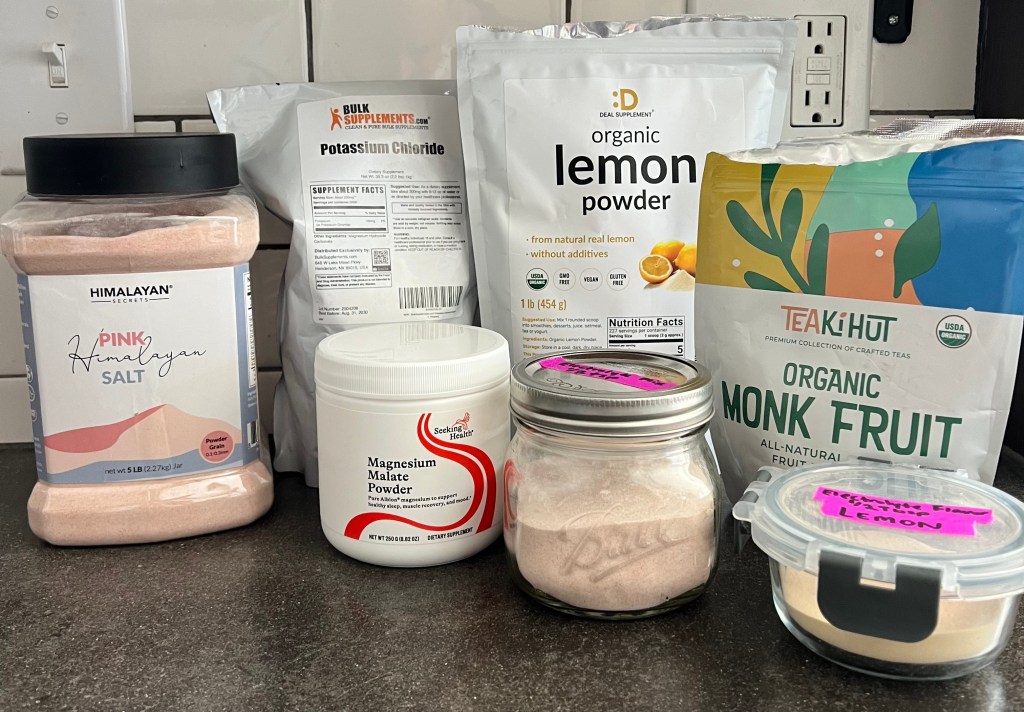
The LMNT website says to add 3.3 grams of the Electrolyte Powder mix to 16 oz of water. I know my family and we aren’t going to weigh out the mix each time we make this so I wanted a rough scoop measurement and I found a generous 1/2 tsp to be roughly 3.3 grams. But you are certainly welcome to weigh out your serving!
I found 1/2 Tbsp of the Flavor Powder to one serving of Electrolyte Powder Mix is the perfect amount of flavor for me, but experiment to find your perfect combo. You could also try some of these flavors as well if Lemon isn’t your jam: Raspberry, Blueberry, Lime, Mango. ****I mixed each recipe (Electrolyte Powder and Flavor Powder) in separate containers so people can add flavor to their liking. ****
Thoughts
A few things about this recipe: I chose monk fruit over stevia only because I just am not a fan of the flavor of Stevia. You may substitute stevia for the monk fruit and I think it would be a similar measurement. I chose Himalayan Pink salt for the Sodium Chloride because my family likes the taste and upon research I found that Sea Salt and Himalayan Pink Salt are similar in their benefits and sodium levels. Only difference (with some brands) Himalayan Pink salt is usually less contaminated with things like micro plastics. But you can absolutely swap sea salt for the Himalayan Pink Salt. I personally liked the homemade version better than the premade, I liked the flavor better and thought it mixed better into the water. My husband wasn’t quite as raving about it as I was, he thought it wasn’t salty enough but he did also say he didn’t love LMNT the first time he tried that either. I think it comes down to personal preference, but we both agree this is worth trying! We will continue to make and use this recipe.
Cost Analysis/Savings
Here is my cost analysis of this drink mix purchasing the linked products:
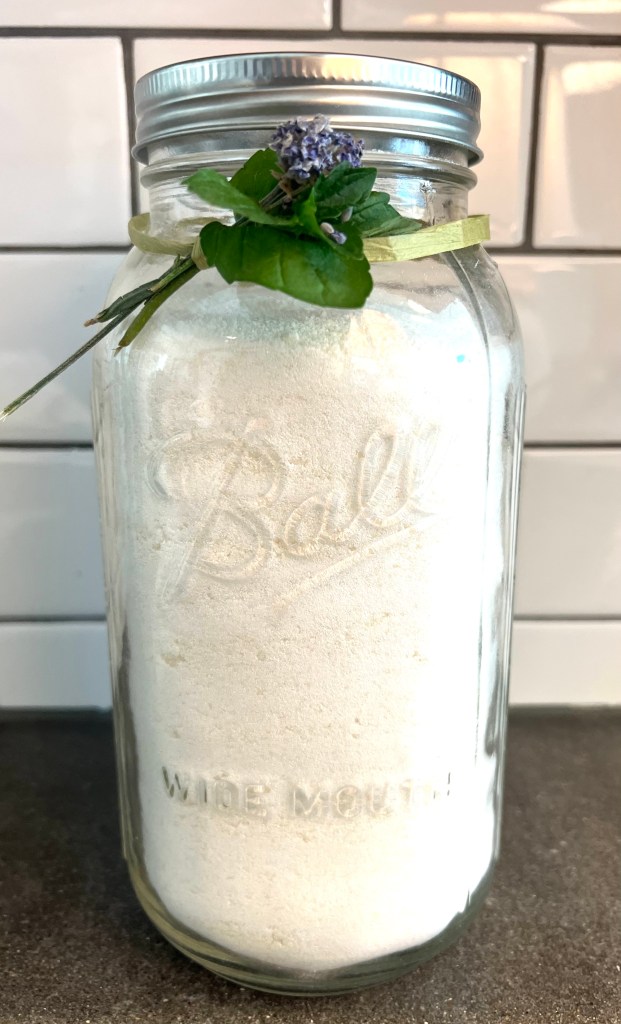
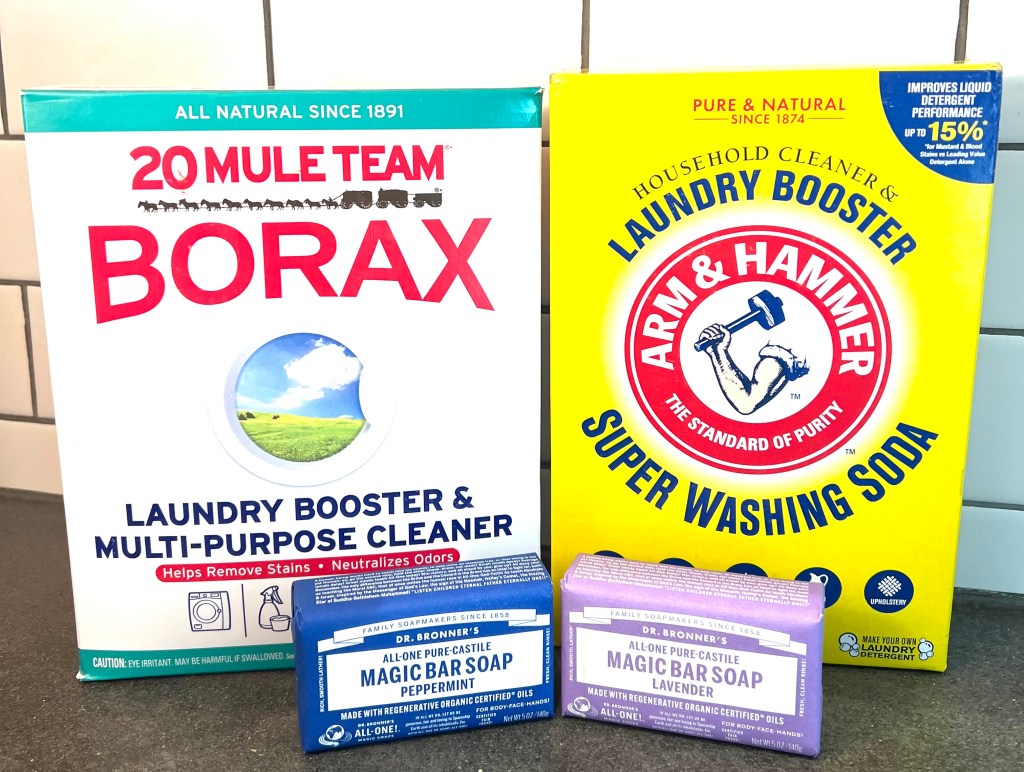
I switched out my liquid laundry detergent long ago to a more natural pre-made powder detergent (I used THIS brand for many years). In the past I have enjoyed the Grab Green brand laundry soap but found it pretty expensive compared to homemade versions and so decided to try making my own laundry soap. I decided to go with the powder version that Live Simply has generously given to the world. I prefer a powder over a liquid only because I find it less messy and more shelf stable than the liquid version. I want to be able to make it and not worry about using it up before it goes bad.
I chose this recipe because of the ratings and the fact its been around for years and is tried and true. I hope you find success with this recipe and feel good about saving money and changing out something in your home that is healthier for everyone.
I will say that if you would rather skip the work of making your own Grab Green laundry soap is a good choice I also have used and will continue to use Grab Green’s Bleach Alternative. Here’s to fighting the good fight friends!